Arduino offers an Integrated Development Environment (IDE) to create, modify, verify and upload our programs to the target electronic board. Unlike other more famous environments such as Eclipse or Visual Studio, it does not have a debugger and code autocompletion, however, despite its simplicity, it has all the tools needed to support the programmer in creating the source files of his project, such as syntax highlighting and error checking.
Note: This guide requires the reader to have some basic knowledge of the command line terminal.
Installation of the IDE on Debian based linux system
In this guide I will show how to install the development environment on the linux distribution I am currently using, a Linux Mint 19.2 Cinnamon, but the various steps will be valid for all Debian based distros (and most likely on all 64 bit linux distros plus recent).
Download the archive from the official page and open it with the pre-installed software, or from a terminal by typing the following commands (the text following the # character is an explanatory comment and is not executed by the shell):
cd / home / <user_name> / Downloaded #move to the download folder
tar xvf arduino-1.8.12-linux64.tar.xz #unpack the archive
cd Linux Mint 19.2 Cinnamon # Let's go into the folder just unpacked
./install.sh #we execute the installation script
Once the IDE is installed, we can open it by double clicking on the icon on the desktop to take a first introductory look.
We will find ourselves in front of the editor window:
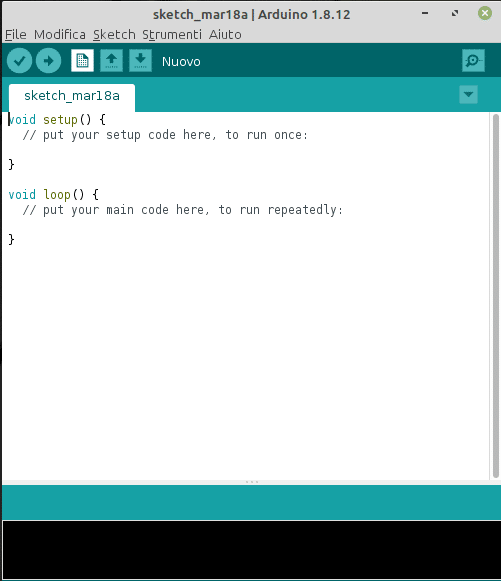
We immediately notice some details, including:
- The header of the window, which shows the name of the source file to be saved (in jargon called sketch), schetch_mar18a, and the version of the IDE, in this case 1.8.12
- Some drop-down menus (File, Edit, Sketch, Tools, Help), which in turn contain sub menus
- A toolbar with convenience buttons, in the order Check, Load, New, Open, Save and aligned to the right, the Serial Monitor button
- An editor tab with the source file containing the setup () and loop () functions
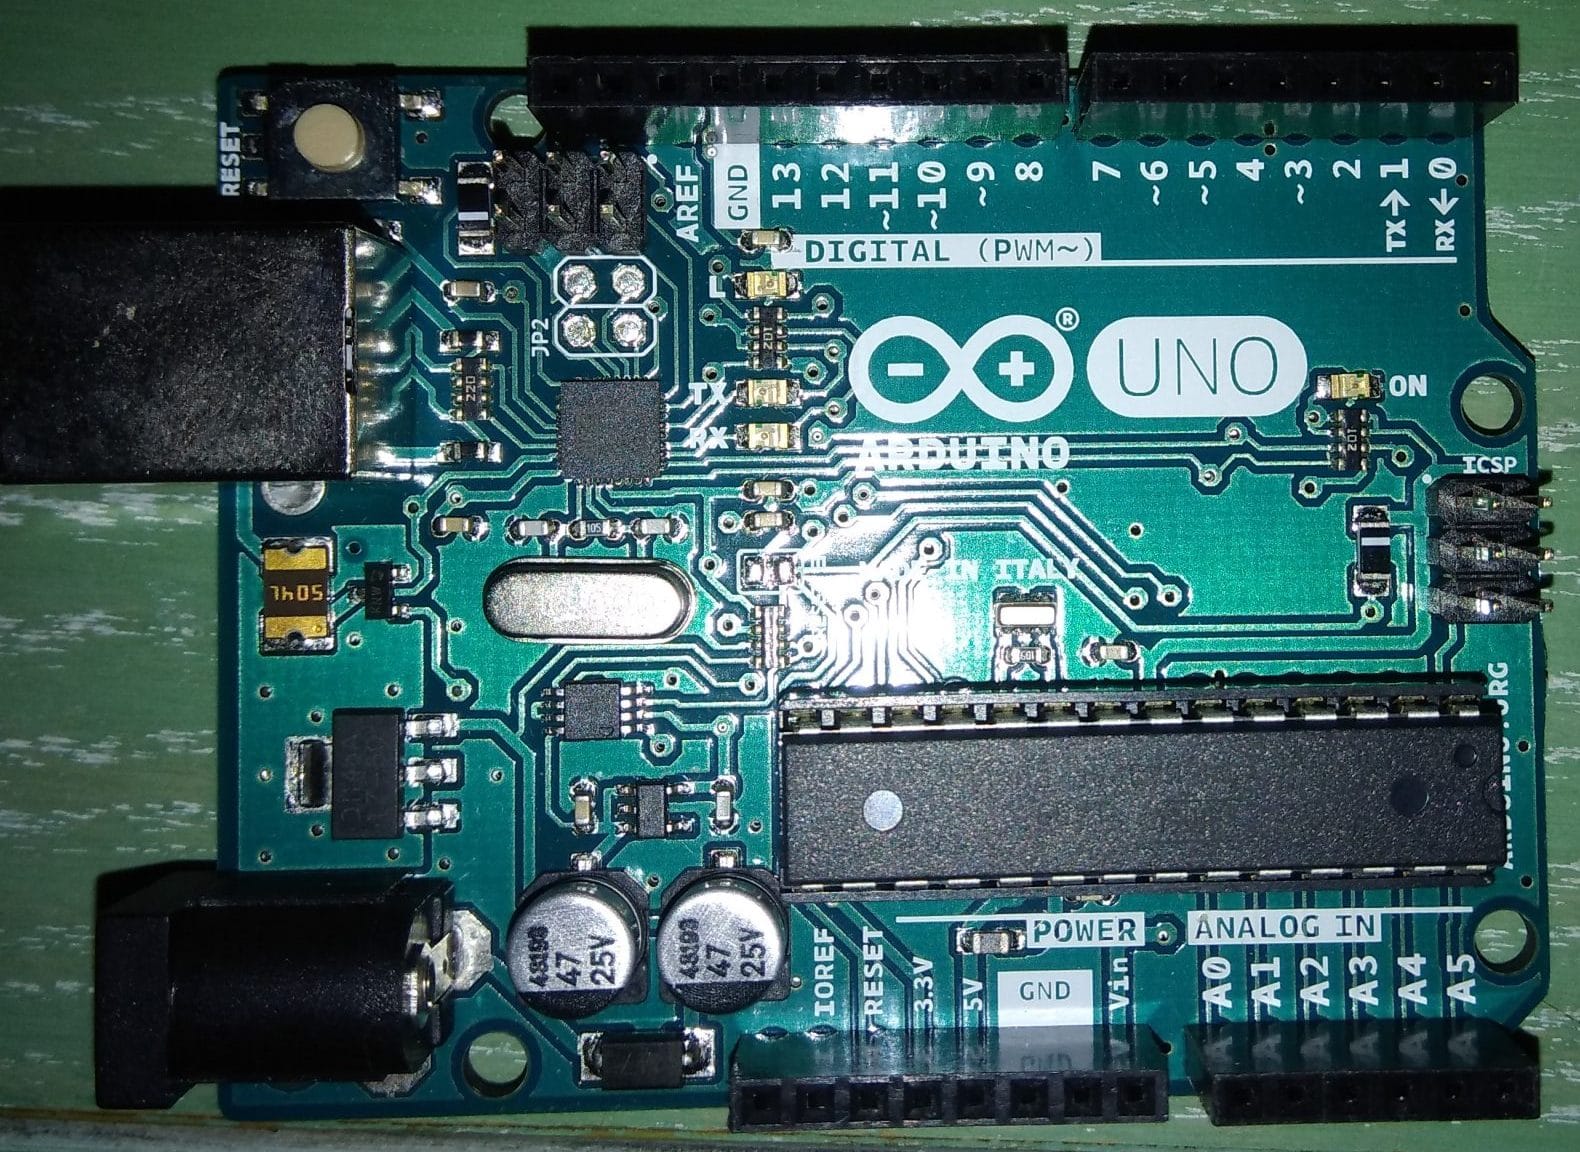
Before we explore some of these features with our first program, we’ll need to set permissions on the serial port. We then connect our Arduino Uno board to the PC via a USB cable, then open a shell again, typing the command:
ls -l /dev/ttyACM*which should return the following output:
crw-rw---- 1 root dialout 166, 0 mar 18 16:42 /dev/ttyACM0of which we are interested in the dialout group, to which we must assign our system user, by typing:
sudo usermod -a -G dialout $USERin addition to this, to avoid the error of access denied to the serial port, we will have to give the read / write permissions, in this way:
sudo chmod a+rw /dev/ttyACM0 Now we are ready to write our Arduino sketch.
The first Arduino program
We have already seen that the development environment editor opens with two empty functions, setup () and loop (), required by Arduino to run our code, in particular:
- setup (), is performed only once when the board is connected to the power supply; it usually contains setup instructions for inputs, outputs, serial port, various parameters, etc.
- loop (), is executed in an infinite loop; it contains the instructions of the tasks that the microcontroller will have to carry out
We then write the following instructions inside setup (), in a sketch that should appear as follows:
void setup() {
// put your setup code here, to run once:
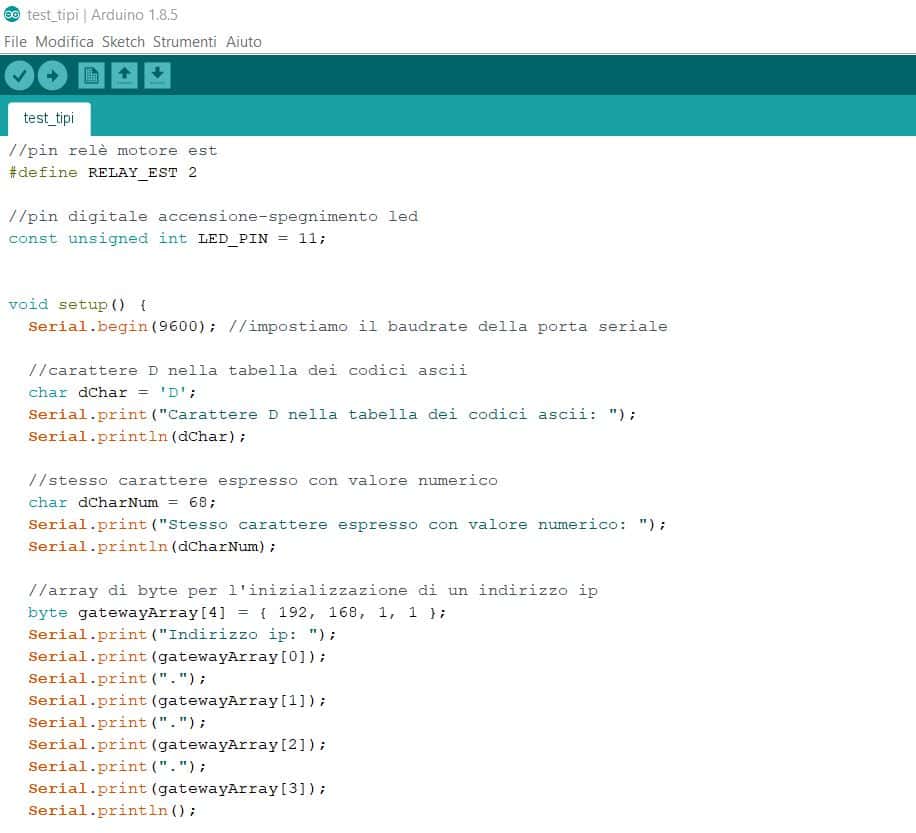
Serial.begin(9600); //impostiamo il baudrate della porta seriale
Serial.println("Hello world!"); //stampiamo sulla porta il testo 'ciao mondo'
}
void loop() {
// put your main code here, to run repeatedly:
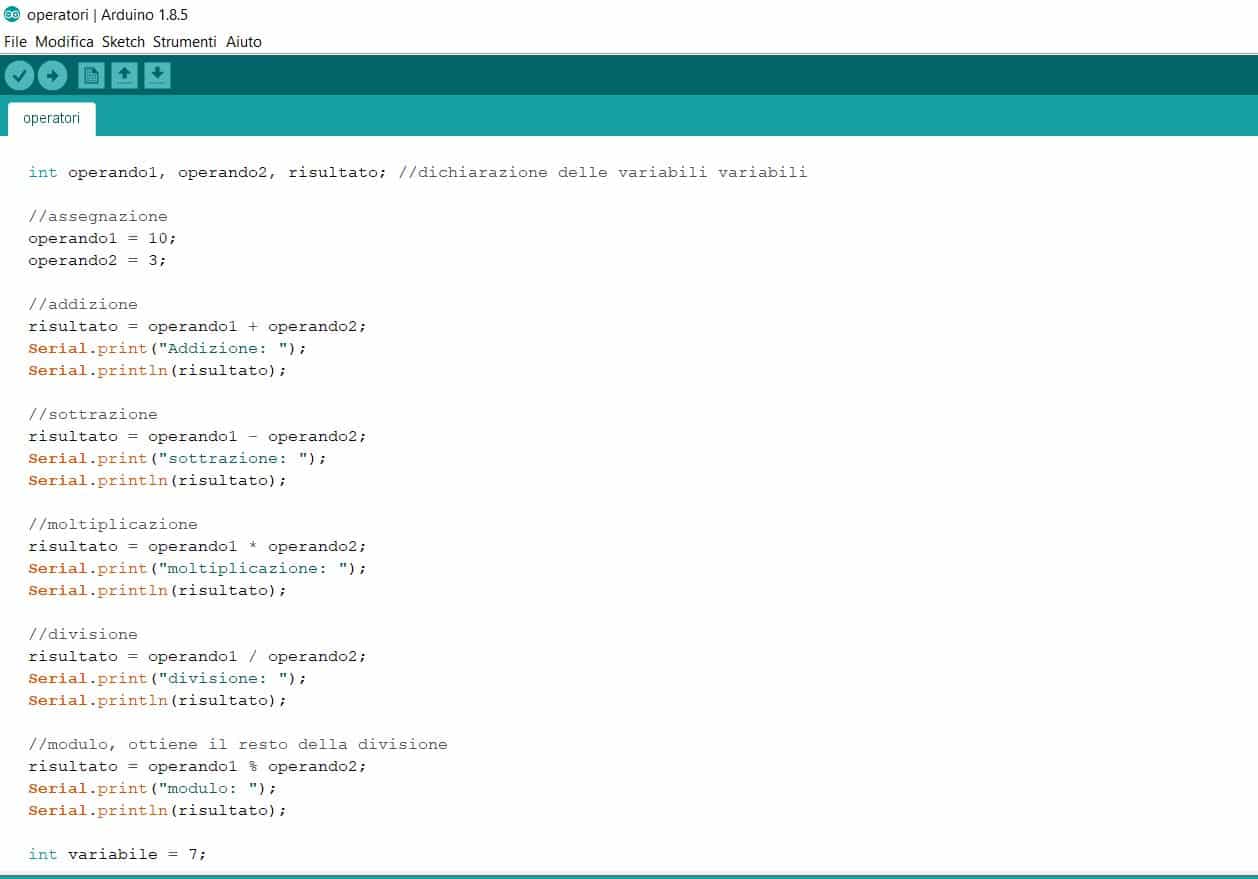
}In line 3, as anticipated in the comment, we set the baud rate of the serial port, that is the parameter that determines the speed of data transmission, expressed in bits per second. On line 4, we print the string “Hello world”.
Compiling and loading of the Arduino sketch
Now that our source file is ready, we press the Verify button, which, in addition to checking for errors in the code, compiles it by converting it into machine code “understandable” to the Atmega chip.
When the compilation is complete, the IDE window will show a message similar to this below
The sketch uses 1486 bytes (4%) of the space available for programs. The maximum is 32256 bytes.
Global variables use 200 bytes (9%) of dynamic memory, leaving an additional 1848 bytes free for local variables. The maximum is 2048 bytes.
We just have to load everything on the Arduino Uno board. We press the Upload button, which will take care of uploading the compiled code; the environment should be able to automatically choose the card and the serial port; however, we can check its settings by going to the Tools -> Board menu, selecting the item of interest to us, and Tools -> Port.
Once uploaded, we will receive the message, by pressing the Serial Monitor button on the right, we will see the result of our first program:
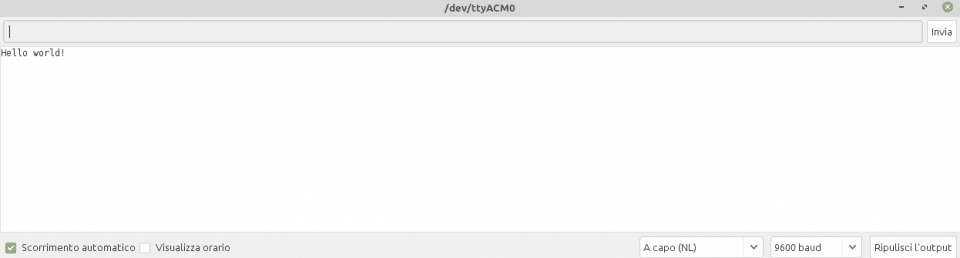
As an exercise for the reader, I propose to move line 4 within the loop function and check the result with your own eyes. How many times is the print instruction executed ?.
Conclusions
In this article we went into the discovery of the development environment offered by Arduino, installing it on a linux system and writing our first sketch. We have viewed the output on a serial monitor. In the near future we will explore the data types and the acquisition of input from the serial port.