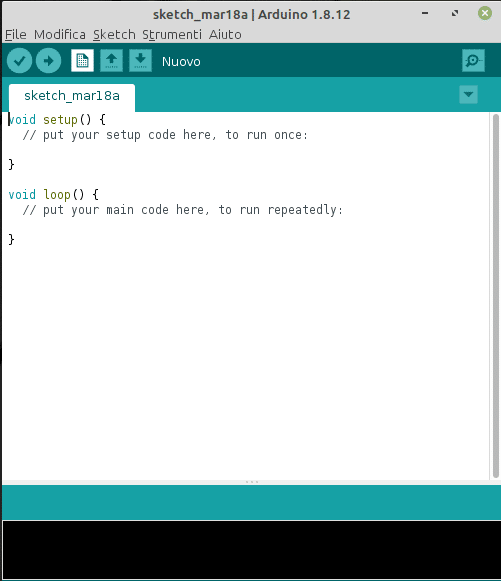
In the previous article we saw how to run a program for Arduino using its ide to write, compile and transfer a simple test sketch to our ticket. Now we will go into the first details regarding the management of variables and data types in the development of our projects with Arduino.
Variables and constants
Any program we are going to write for Arduino (and not only) will make use of variables to store the information to be managed (data from sensors, commands to be sent to actuators, lists of records from text files, data streams to be received through consumption of webservices etc.). Variables are nothing more than portions of memory in which we will store (and through which we will go to retrieve) such information. The syntax is very simple and follows the following standard:
<type_of_data> <variable_name> = <value>where is the type of the variable (for example an integer), is the name we will give to the variable (and that for our clarity and that of anyone who will read the sketch it is advisable to be as significant as possible) and < value> is the value that will be assigned to the variable (in this case any integer.
Constants
Variables can change during program execution, but it is often useful to be able to create variables that cannot be changed. In this case, constants are used, which by convention are always uppercase and are declared with the const keyword using the following syntax:
const <data_type> <CONSTANT_NAME> = <value>As with variables, the name should be meaningful (eg LED_PIN rather than XYZ), but the initially assigned value will be immutable. You can also use the #define preprocessor directive:
#define <CONSTANT_NAME> <value>Hint: constants reduce the memory space occupied by the program; it is good to get used to using them always as they will be very useful in the most complex projects.
Data types byte, int and long
Usually a numerical value assumes one of the types just mentioned, in particular:
- the byte type has a size between 0 and 255 and occupies one byte of memory
- the type int has a size between -32768 and 32767; takes up two bytes of memory. If declared as unsigned it can assume values between 0 65535
- the long type occupies four bytes and takes values between -2147483648 and 2147483647 (in the case of an unsigned long the values included range from 0 to 4294967295)
Here are some examples of byte, int and long declaration and initialization:
byte pin13 = 13;
int rele_1 = 9;
long minValue = -34099858390L;
Tipi di dato float e double
The float and double types are used to store floating point values. They occupy four bytes, for values between -3.4028235E + 38 and -3.4028235E + 38, e.g.
float min_temperature = -10.8;
double max_value = 232335.3453;
Boolean data types
Boolean data types can only take one of the two values true and false and occupy one byte of memory. The syntax to use is the following:
boolean isAvalable = true;Char data types
Char variables use values between -128 and 127. They occupy one byte of memory and correspond to symbols and characters in the ASCII code. Here are two examples of assigning a variable of type char using both a literal numeric value and a character in double quotes:
char wVar = 87;
char wVar2 = 'W';
Array data types
Arrays (or vectors) contain sets of values of the same type. Individual elements of an array can be accessed via an index that indicates the position (the indices must be counted starting from 0, so an array of four elements will have indices that will assume the values 0, 1, 2, 3, 4). Here is an example of using an array:
// declaration of an integer of four elements;
int ip [4]; // note the square brackets to indicate the capacity of the carrier
// assignment of values to the individual elements of the array indicating their position by index; the index of the first element is counted starting from 0
ip [0] = 192; // assignment of the first value to position 0
ip [1] = 168; // assignment of the first value to position 1
ip [2] = 1; // assign the first value to position 2
ip [3] = 0; // assignment of the first value to position 3Classes
A class is basically a data type created by the programmer, containing variables and methods to perform a certain task. The standard Arduino library provides some high-level classes such as the String class to manage text strings (for example for concatenating and replacing parts of text). We will cover this topic in more advanced articles.
A program for testing Arduino data types
Now that we have a first overview of the main types of data that can be used in our Arduino programs, we can prepare a sketch to test them – using the official ide -, using the serial monitor to view the output of some variables. As already happened in the following articles, we will only make use of the setup function to prevent the code from being repeated in an infinite loop within the loop function. And again, the comments clarify the purpose of each line of instruction.
// east motor relay pin, use of define directive for constant declarations
#define RELAY_EST 2
// digital pin on-off led
// declaration of constant by the keyword const
const unsigned int LED_PIN = 11;
void setup () {
Serial.begin (9600); // we set the serial port baudrate
// character D in the ascii code table
char dChar = 'D';
Serial.print ("Character D in the ascii code table:");
Serial.println (dChar);
// same character expressed with numeric value
char dCharNum = 68;
Serial.print ("Same character expressed with numeric value:");
Serial.println (dCharNum);
// array of bytes for the initialization of an ip address
byte gatewayArray [4] = {192, 168, 1, 1};
Serial.print ("IP address:");
// print the individual values of the array with index access,
// using square brackets
Serial.print (gatewayArray [0]);
Serial.print (".");
Serial.print (gatewayArray [1]);
Serial.print (".");
Serial.print (gatewayArray [2]);
Serial.print (".");
Serial.print (gatewayArray [3]);
Serial.println ();
// boolean to check eg. if a device is ready for communication
boolean isReady = false;
Serial.print ("Device ready:");
Serial.println (isReady);
// activation time of an engine
unsigned long timeToMove = 36000000L;
Serial.print ("Activation time:");
Serial.println (timeToMove);
// temperature value
float temperature = 15.5;
Serial.print ("Temperature:");
Serial.println (temperatures);
// text string
char text1 [] = "Second Arduino sketch";
// other way of assigning text string
char text2 [] = {'S', 'e', 'c', 'o', 'n', 'd', 'o', '', 's',' k ',' e ',' t ',' c ',' h ',' ',' A ',' r ',' d ',' u ',' i ',' n ',' o '};
// third mode
char text3 [4] = {68, 79, 68, 79};
Serial.print ("String 1:");
Serial.println (text1);
Serial.print ("String 2:");
Serial.println (text2);
Serial.print ("Extinct animal:");
Serial.println (text3);
}
void loop () {
// put your main code here, to run repeatedly:
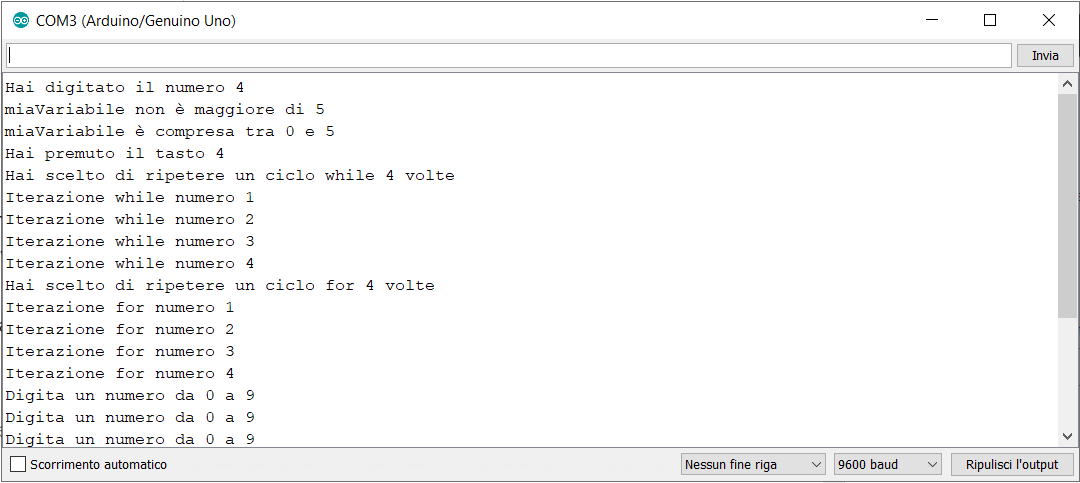
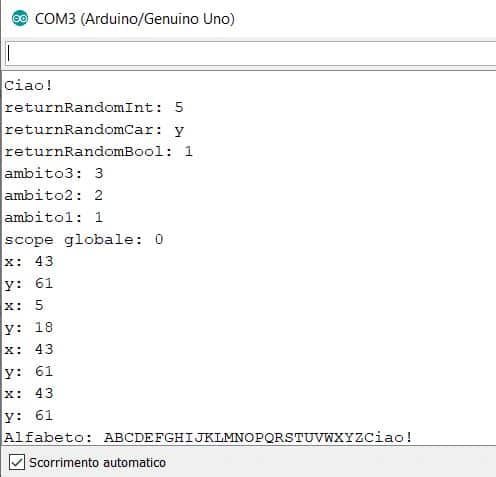
}Here is the output on the serial monitor of our sketch:
Character D in the ascii code table: D
Same character expressed with numeric value: D
IP address: 192.168.1.1
Ready device: 0
Activation time: 36000000
Temperature: 15.50
String 1: Second Arduino sketch
String 2: Second Arduino sketch
Extinct animal: DODO
Conclusion
We explored the types of data that can be used in our Arduino projects and wrote a simple program to start testing them. In the next articles we will introduce the operators and the controls of the execution flow, which allow to execute cycles and conditional instructions that will make our projects more “intelligent” and interesting.